You can install fonts on Windows 10 in several ways. You can download and install fonts manually from online sources, you can install fonts directly using the Microsoft Store, or you can use third-party font managers to install fonts for you. If you want to know how to install fonts on Windows 10, here’s what you’ll need to do.
Where To Find New Windows 10 Fonts
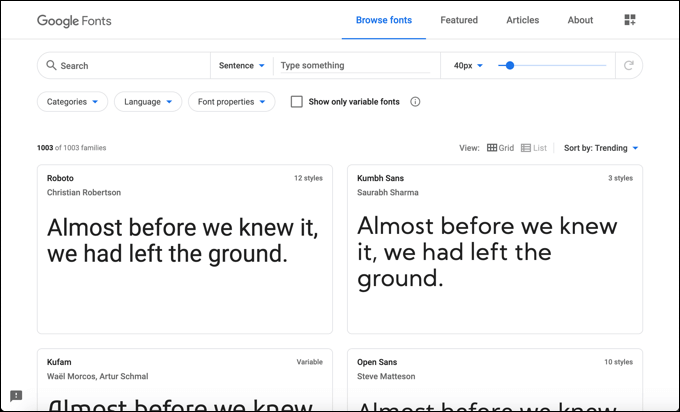
There are several online sources available for free font downloads. You could, for instance, download free fonts from the Google Fonts collection, where over a thousand fonts are available. Other online sources for free fonts include Font Squirrel and Urban Fonts, but this is a far from exhaustive list. You could even design your own font using the free FontStruct service. Whether you’re downloading an existing font or creating your own, the font file itself will usually be in the TTF or OTF file formats. If you’re a Photoshop user, you could make use of your Adobe Creative Cloud subscription and download fonts through that service. You can also install fonts on Windows 10 directly using the Microsoft Store.
Install Fonts in Windows 10 Using Windows Font Viewer
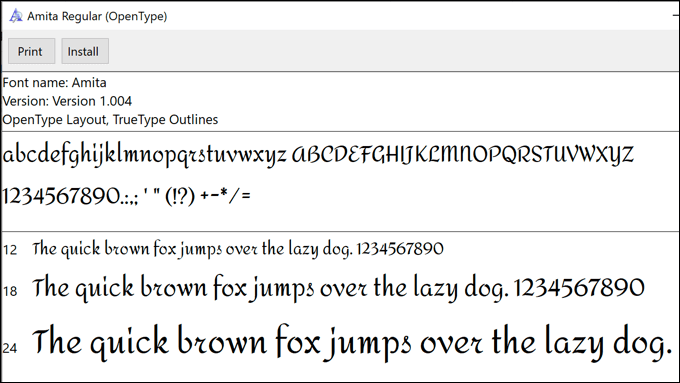
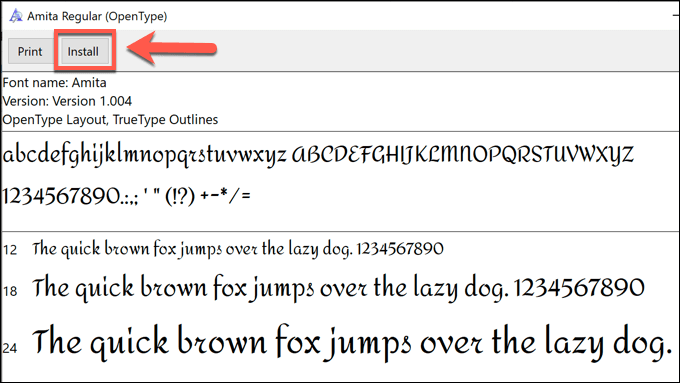
If you’ve downloaded a suitable TTF or OTF font file from an online source, you can install it in several ways. The first method is by viewing the font file itself. Window will allow you to preview a font and install it using the Windows Font Viewer. This shows the font being used with the sentence, the quick brown fox jumps over the lazy dog, which contains every letter of the alphabet. The numbers 0-9 and some punctuation (such as semicolons) are also shown, allowing you to view the font design in full. After a few moments, your new font will be available to use in other software on your PC.
Install Fonts in Windows 10 Using the System Font Folder
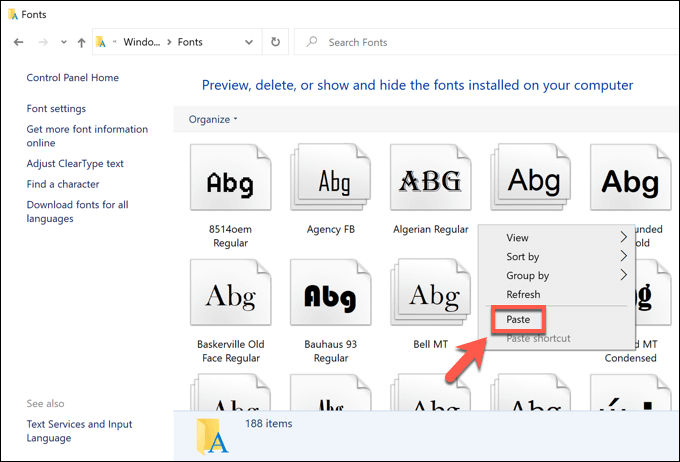
If you’re installing several fonts at once, however, then installing fonts using Windows Font Viewer would be a slow, time-consuming process. Instead, you can install the fonts manually by copying them into the Windows system folder for fonts (C:\Windows\Fonts) directly. Once the files are copied or moved into place, the fonts will be available in your other apps and installed Windows software. You may need to restart any open apps to be able to view the fonts, however.
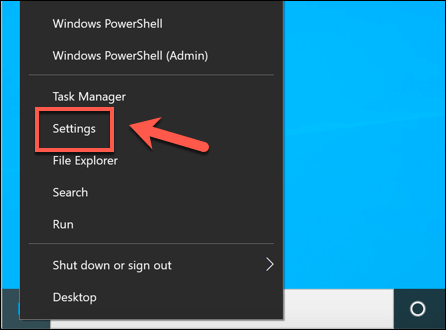
Install Fonts in Windows 10 Using Windows Settings
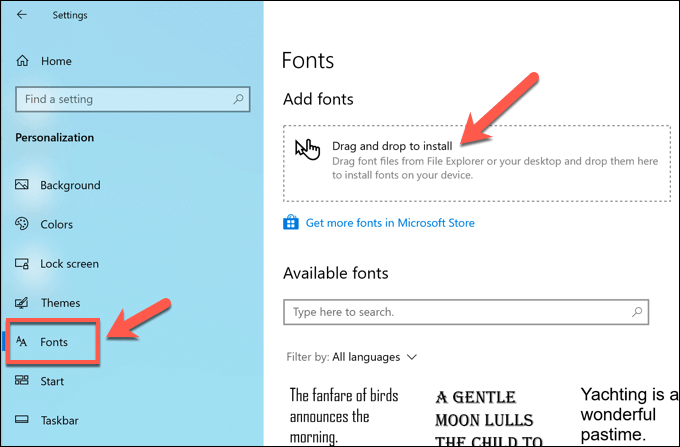
If you’re struggling to install fonts on Windows 10 that you’ve downloaded online using the method above, you can drag-and-drop them in the Fonts menu in Windows Settings instead. Once dropped into place, the fonts will be ready to use immediately.
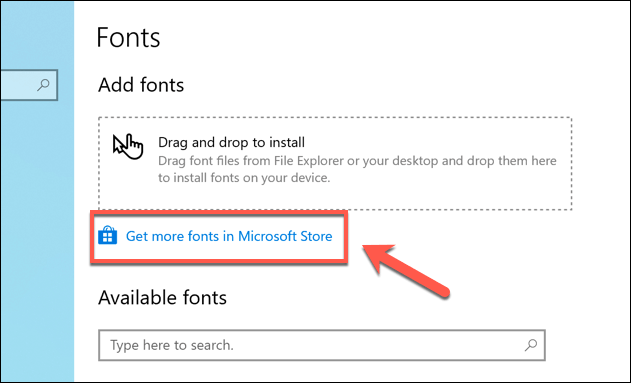
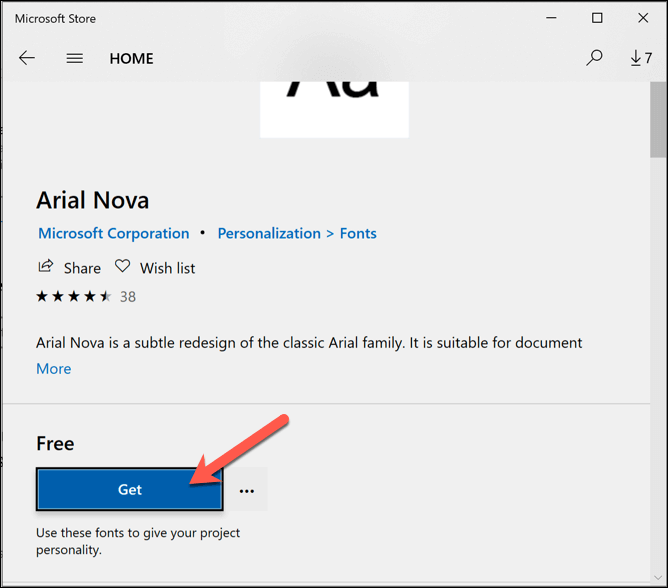
Finding and Installing Fonts from the Microsoft Store
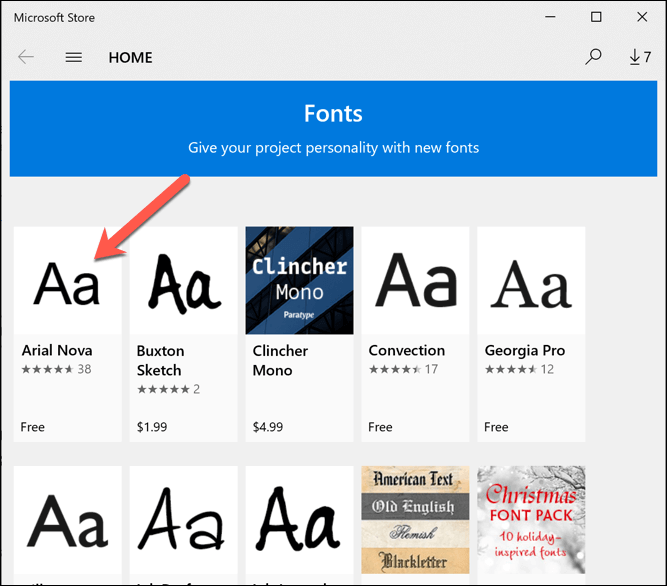
If you’re struggling to find new fonts you like, you may be able to find them in the Microsoft Store, Windows 10’s built-in app store. Rather than searching for these manually, you can access the list of available fonts for download directly from your Windows Settings menu. After the font has been installed, you’ll be able to use it in your other software immediately.
Using Third-Party Font Managers
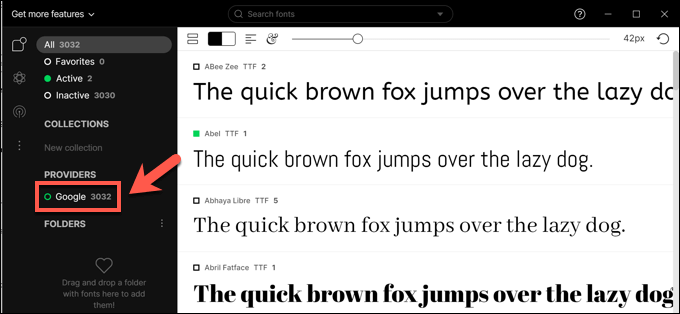
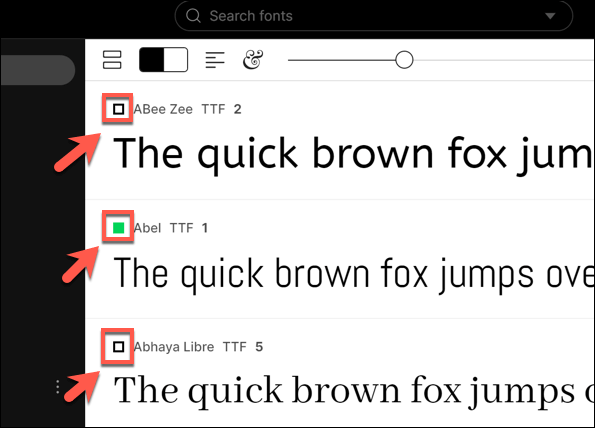
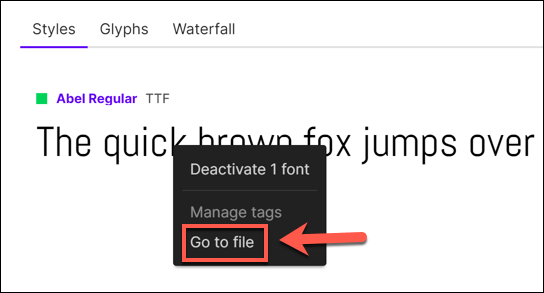
If you’re struggling to install new fonts in Windows 10, you may prefer to use a third-party font management tool. These tools are an all-in-one solution for fonts, letting you download, manage, and update new fonts directly. One font manager you can use is FontBase, a cross-platform font management tool for Windows, Mac, and Linux. FontBase is free to use, and it allows you to quickly install fonts from the Google Fonts collection without downloading and installing them manually. If you decide to install a FontBase font permanently, it’ll be available to use immediately, regardless of whether FontBase is open or not.
Creating New Designs with New Fonts on Windows 10
Once you know how to install fonts on Windows 10, you can let your creative side go wild. New documents, images, professional infographics and more can all benefit from a new font or two, especially if you’re bored of seeing the same old Times New Roman or Arial font in size 12 appear in your documents. Once your fonts are installed, the next steps are yours. You could design and create a multi-page PDF in Photoshop, letting you integrate your new font style into a static document. You can even add fonts in Photoshop directly, with even more fonts available to install and use as part of your Adobe Creative Cloud subscription.